

Peavey produced a line of signature model guitars for Adrian Vandenberg beginning in 1988, while he was playing guitar for Whitesnake. The Quilt Tops were the most meticulously handcrafted guitars of the line featuring premium woods and hardware. Borrowing design elements from Peavey's Nitro line, the Vandenberg was late in meeting the competition of brands such as Charvel and Kramer that were firmly established in the early and mid 80's. The line was unceremoniously discontinued in 1994 and lots of models were still hanging in dealer's showrooms due to the grunge and alternative eras of rock.
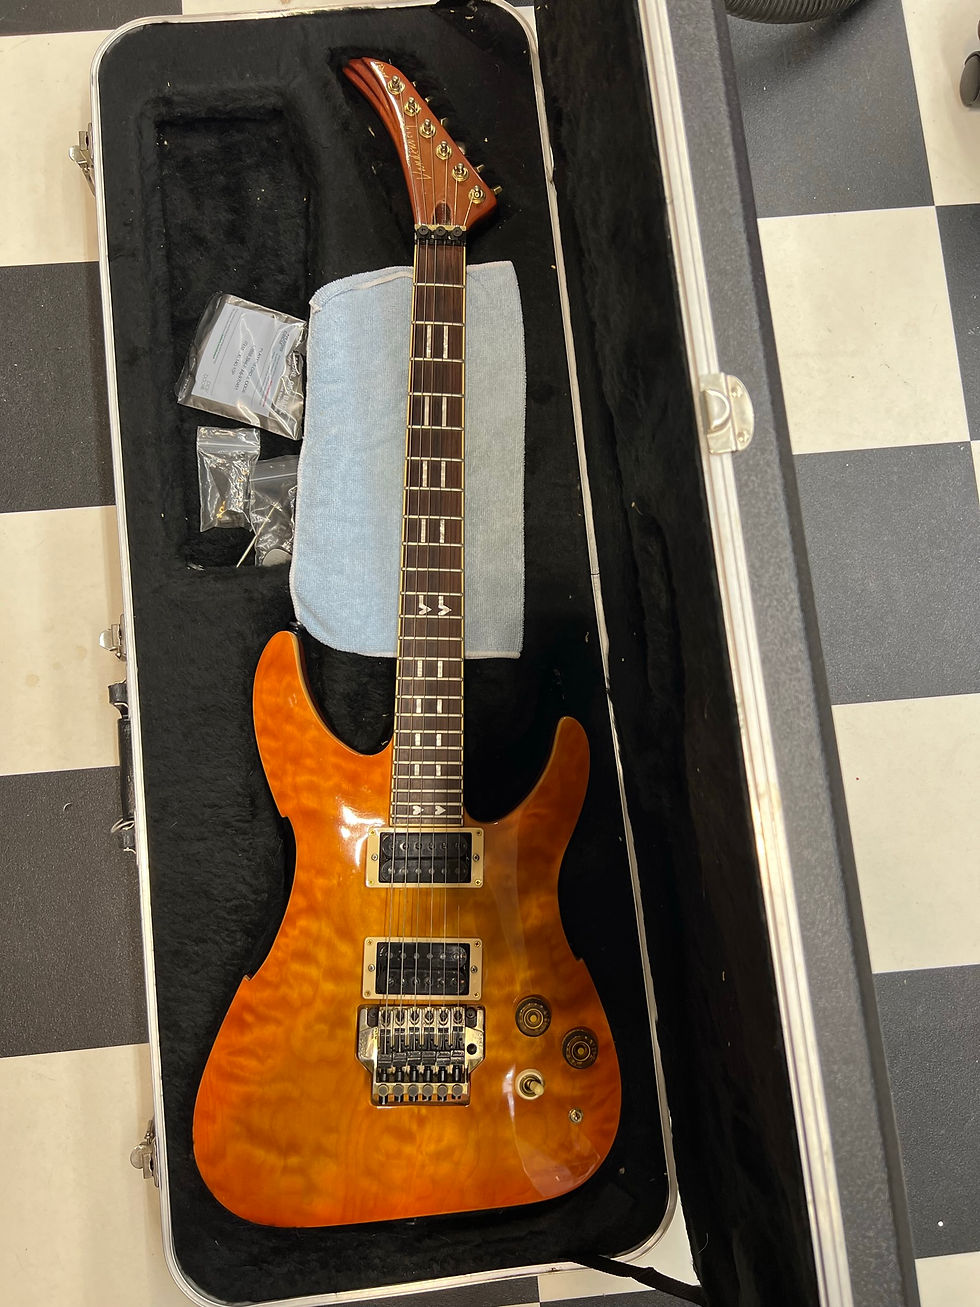
After being well played for more than two decades, the owner of this Vandenberg decided to bring it in for some much needed attention.
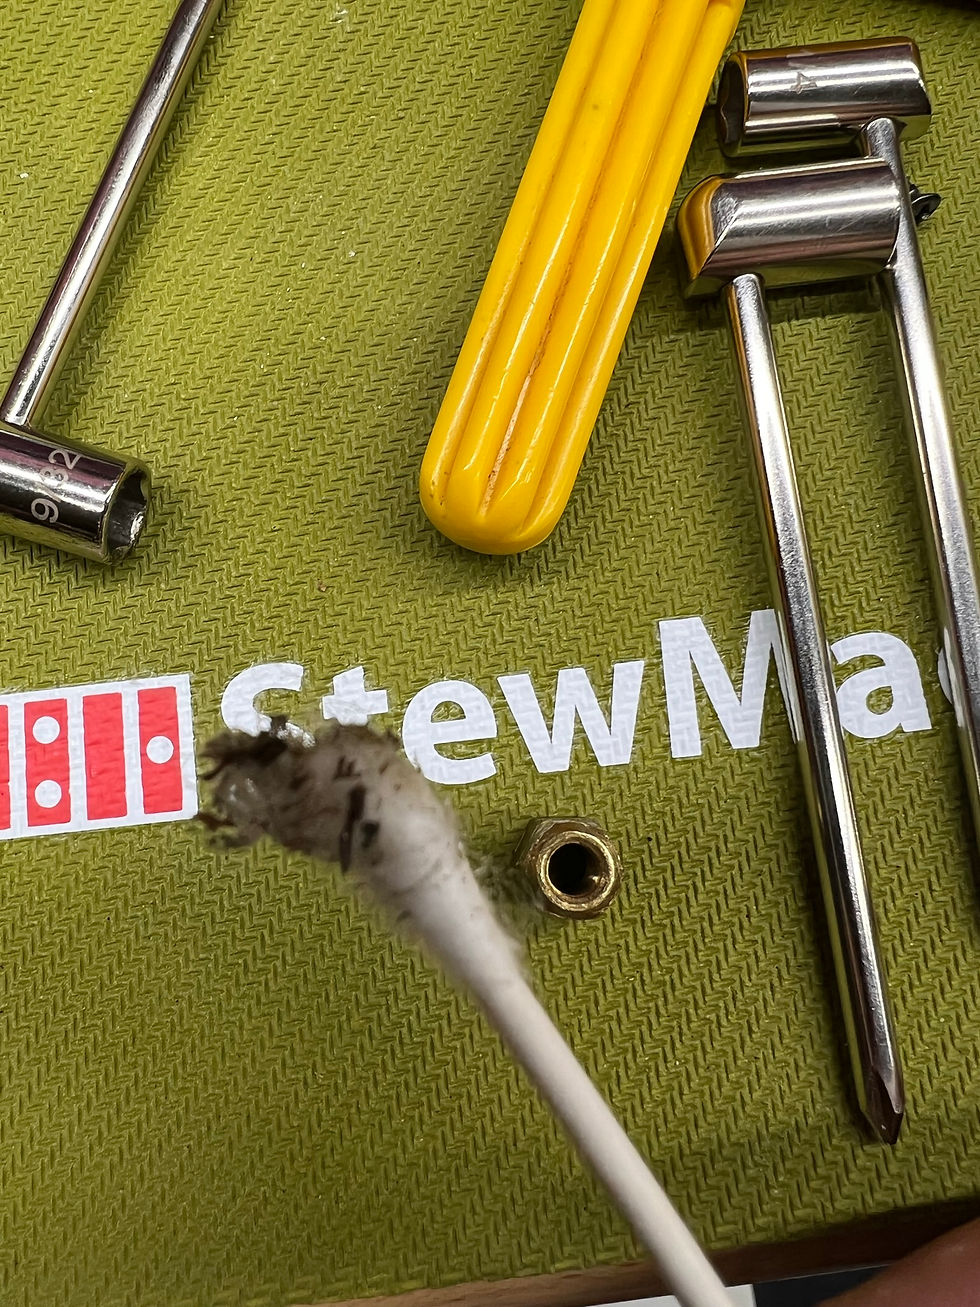
First, I begin by removing the truss rod nut to clean up the threads in both the nut and on the rod itself. Once cleaned I add some vaseline to the threads to lubricate and prevent corrosion. The added benefit is a much more easily adjusted truss rod for years to come.
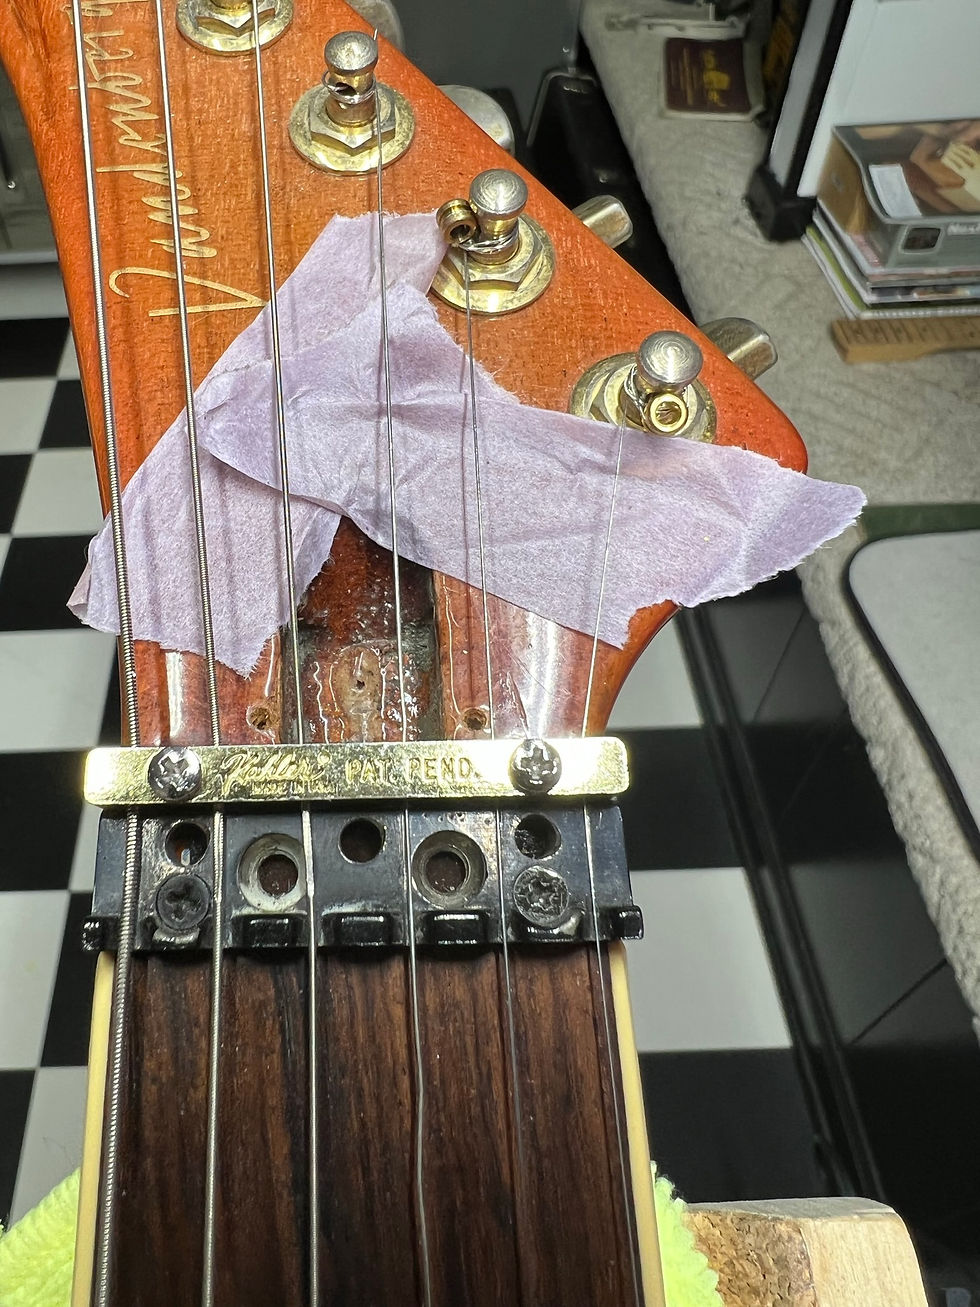
The owner complained of rattles and buzzes in the first few positions of the neck, despite having adjusted the truss rod in the past. A quick look tells me that the nut shelf is cut too low for the strings to clear the first fret.
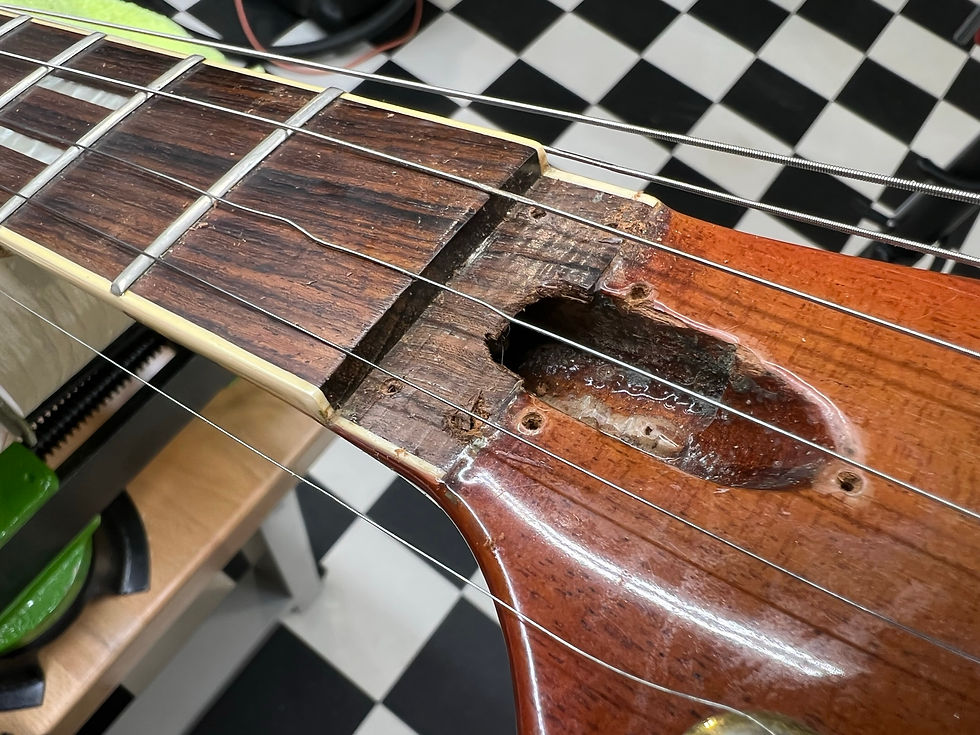
Here the nut is removed and I will take measurements for a nut shim to be cut from mahogany.

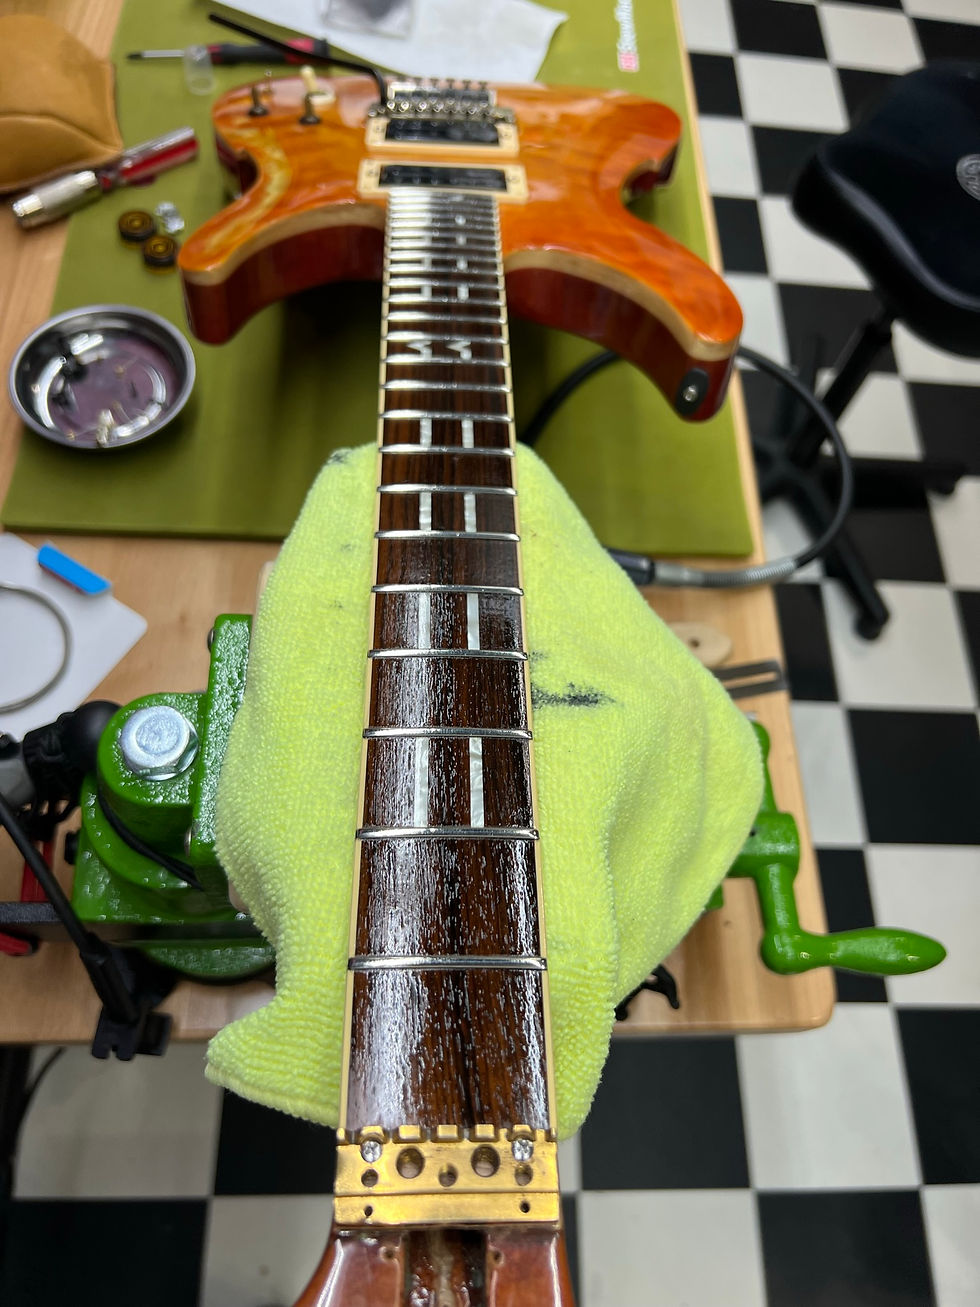
Here we can see a little fret wear beginning to show. Most of this can and will be removed by hand polishing the frets with progressive stages of various sanding grits.

Next, I place the guitar into the Erlewine neck jig to get our neck adjusted for some slight leveling.
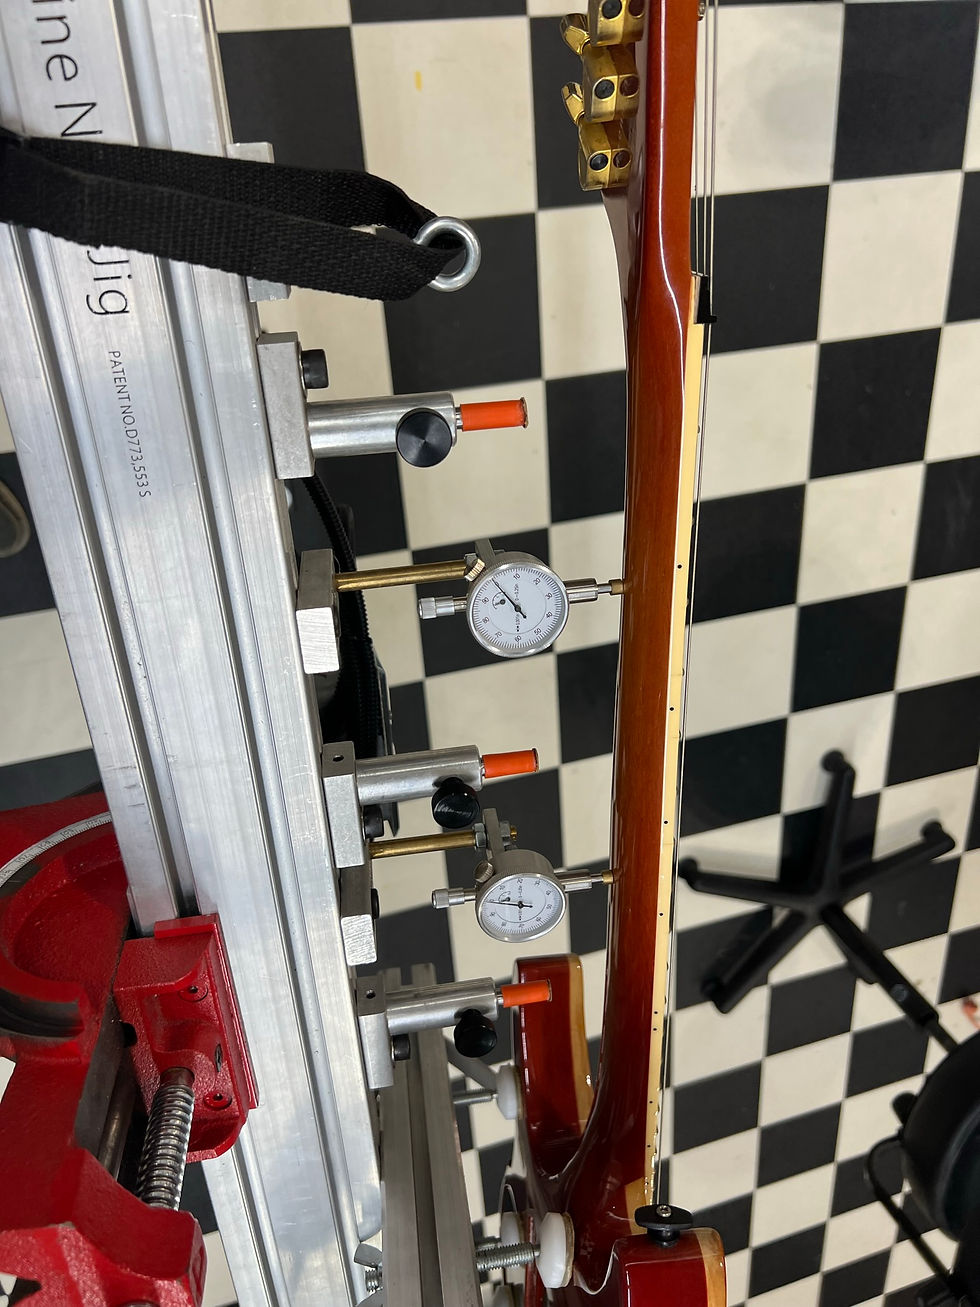
Here the guitar is "flipped" over into playing position, allowing me to get the truest adjustment of the fingerboard and retain this as the guitar is turned back over to work on.
The gauges show the neck deflection as a result of gravity pulling the strings and neck, and allow me to dial the guitar back into a simulation of playing position using careful adjustments at the nut and headstock.
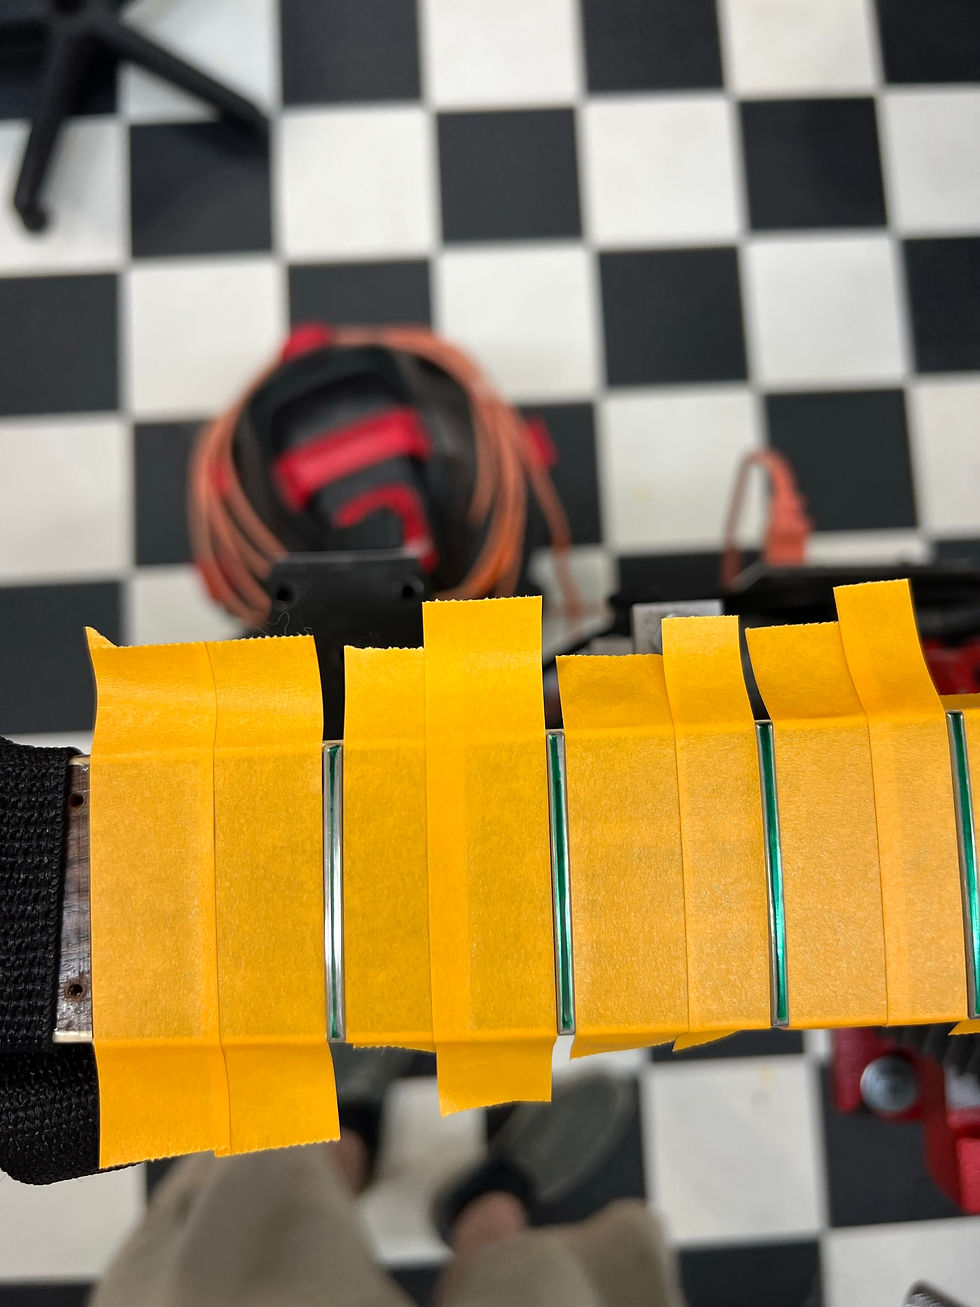
After an ever so slight leveling, I tape the fingerboard, re-ink the frets, and move on to bringing a thin crown back to the fret. This is the point where the string will meet the fret, and I want these to be as consistent as possible, giving the guitar the best playing frets possible.
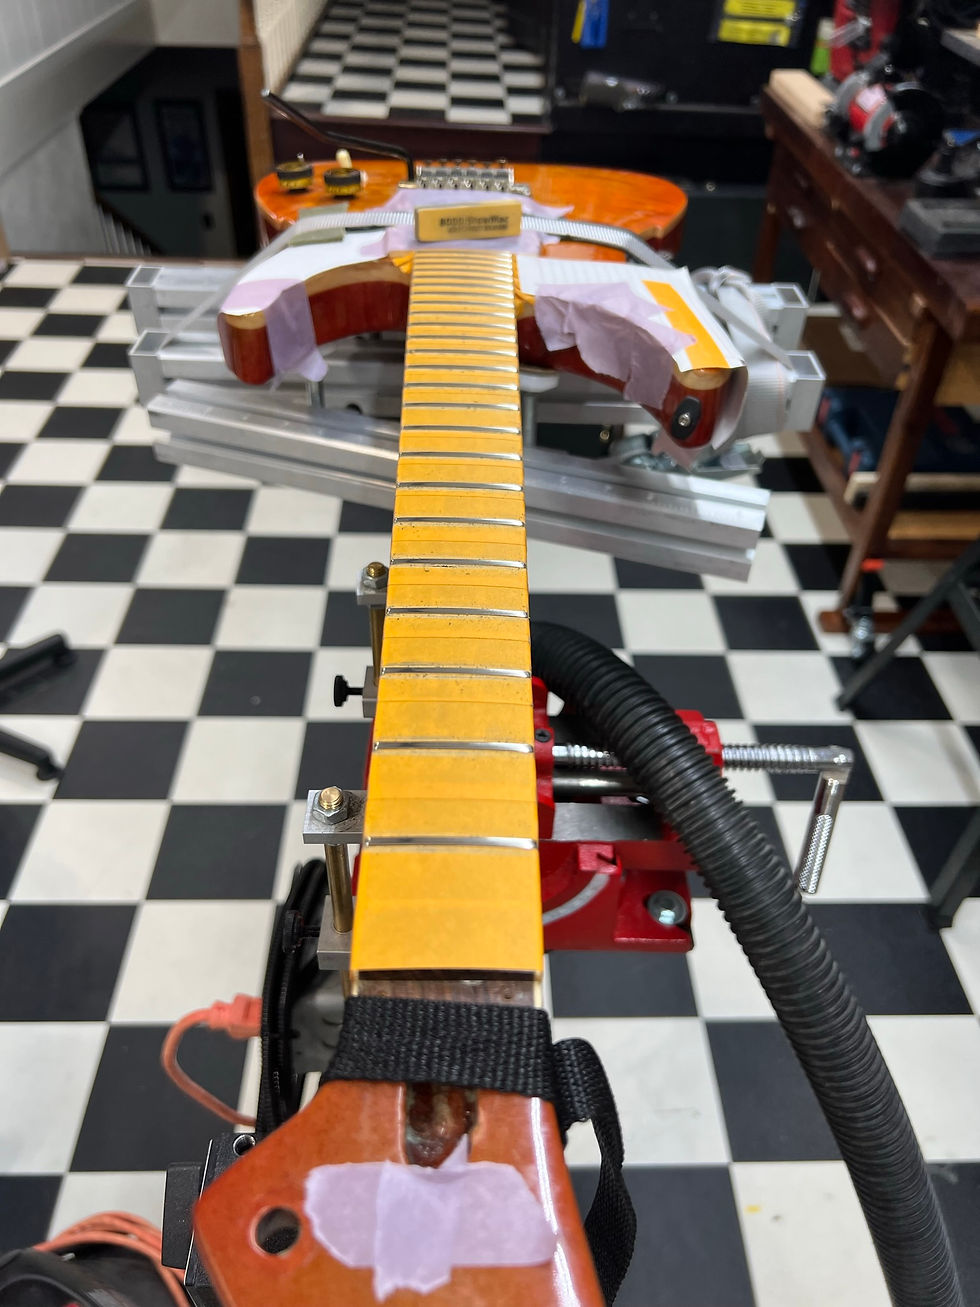
After crowning, the frets are polished through a series of grits resulting in a mirror like shine.
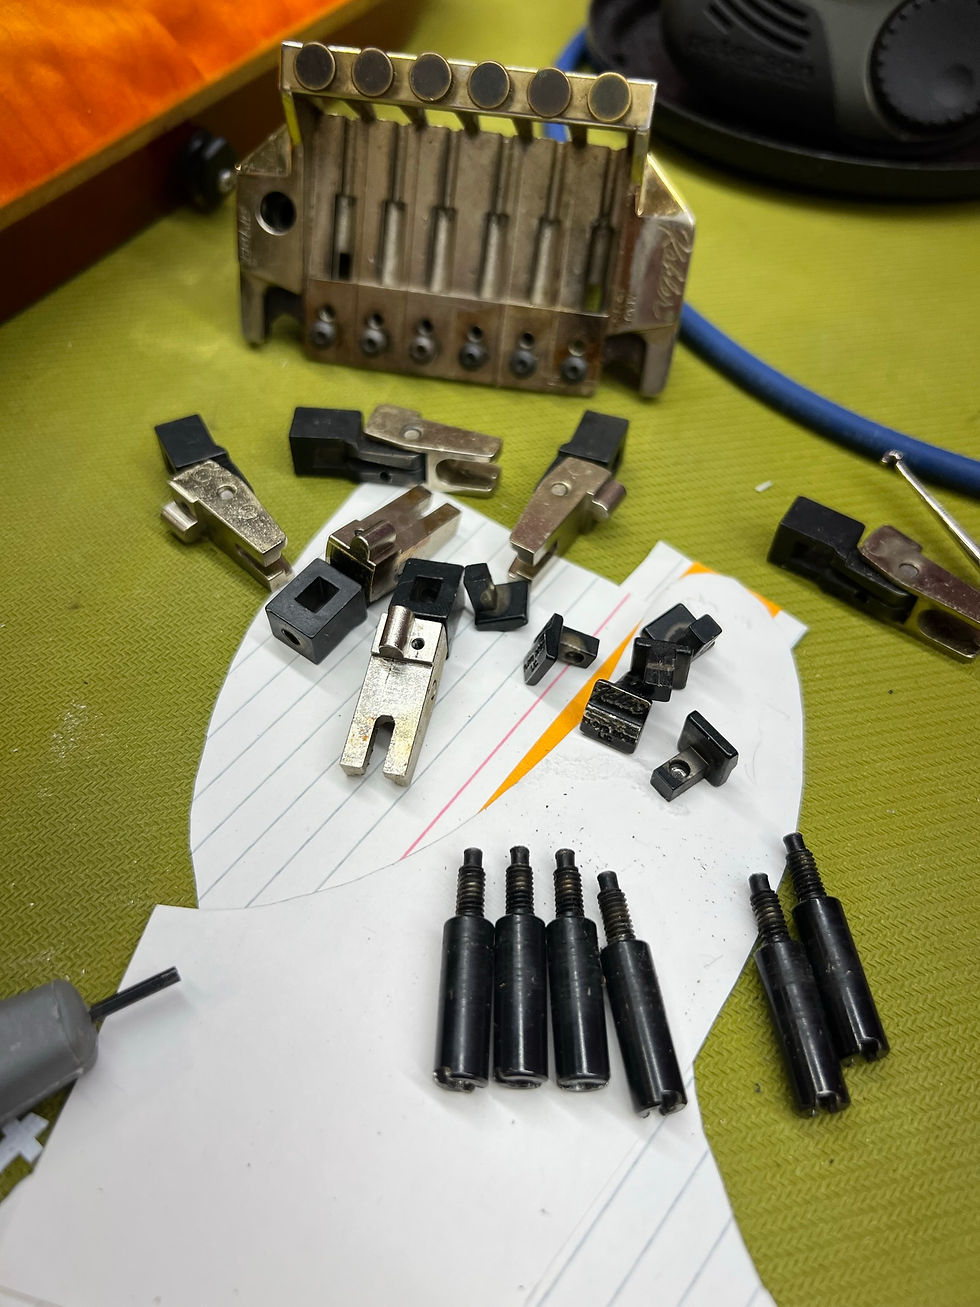
With the fretwork complete, I now move onto disassembling and cleaning the Kahler tremolo.
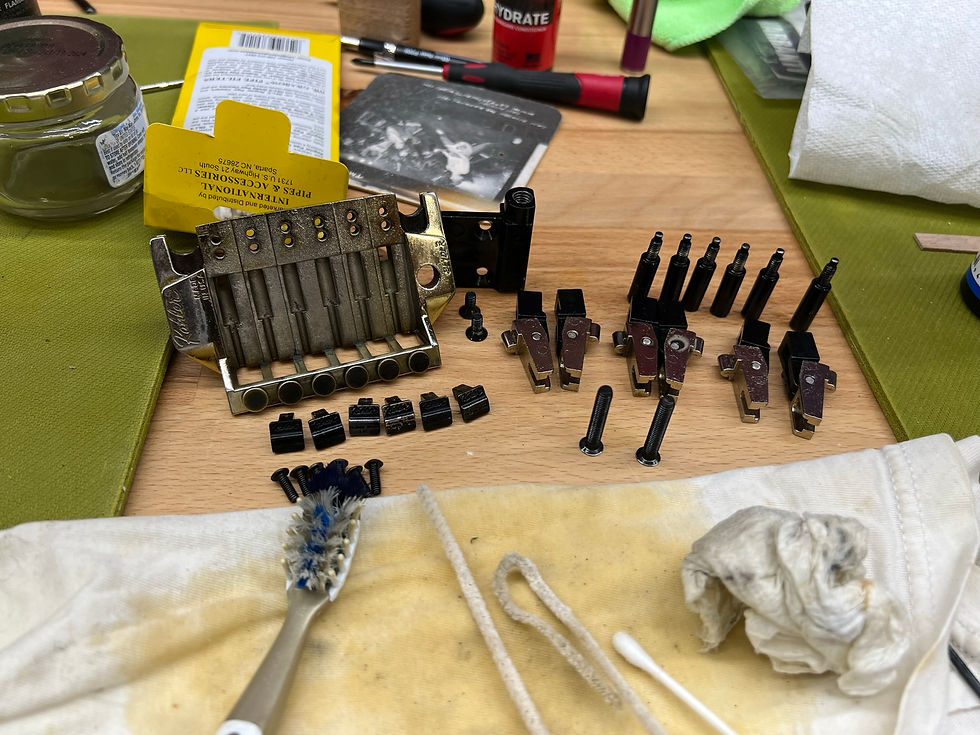
Fresh out of a solvent bath, I work on removing grit, grime, and crud from the hardware.
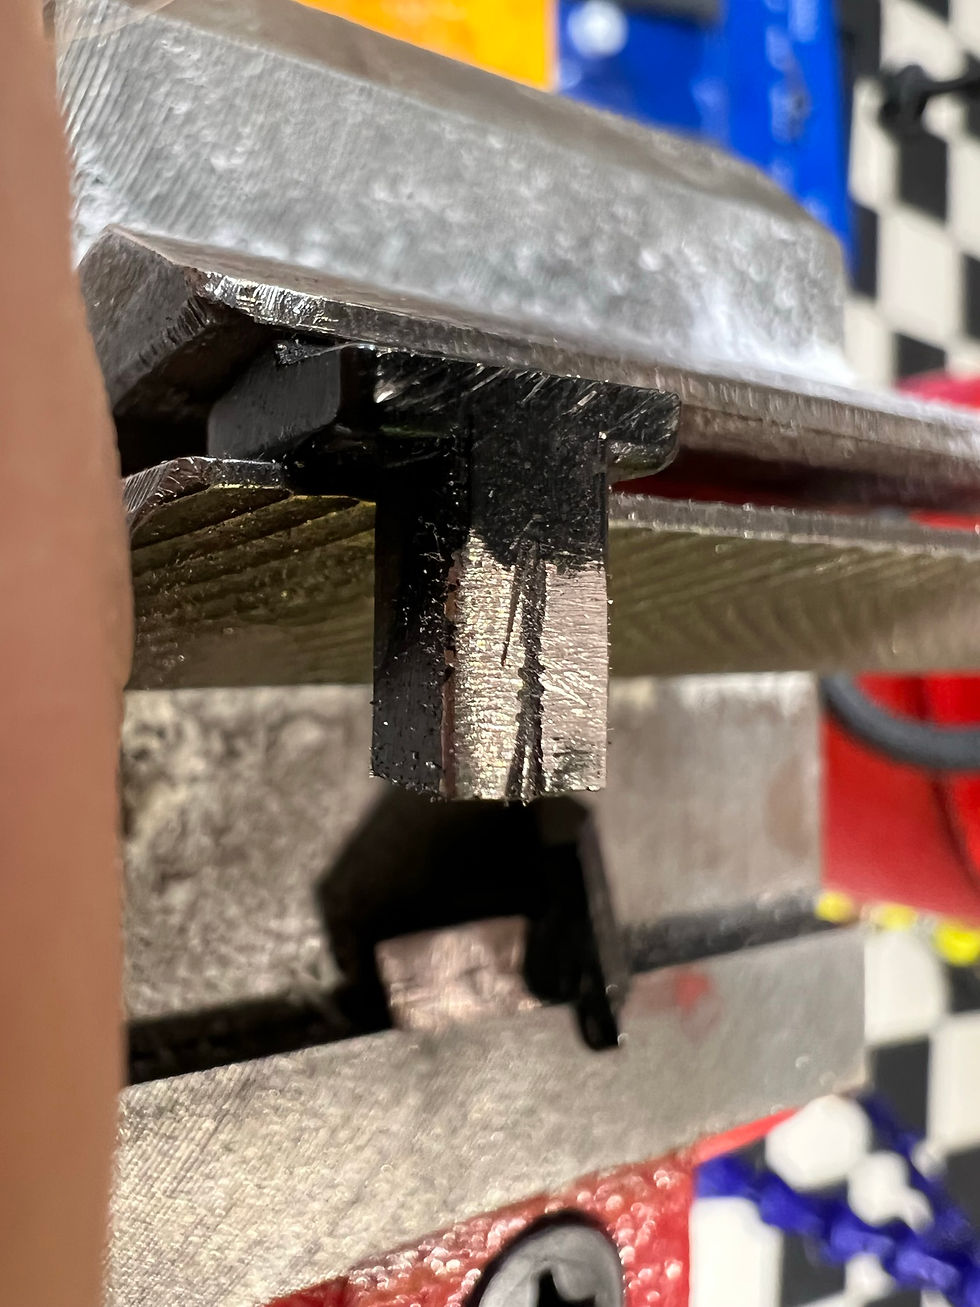
The saddles have string wear from many years of use. This wear is removed and made to effectively hold the strings again.

Here our saddle wear has been filed away and is ready to be reinstalled.

Next I work on making a thin shelf to raise the nut and allow for fret height and nut height.
As I work on reassembling everything, I apply a coat of oil to the fingerboard to condition the wood.
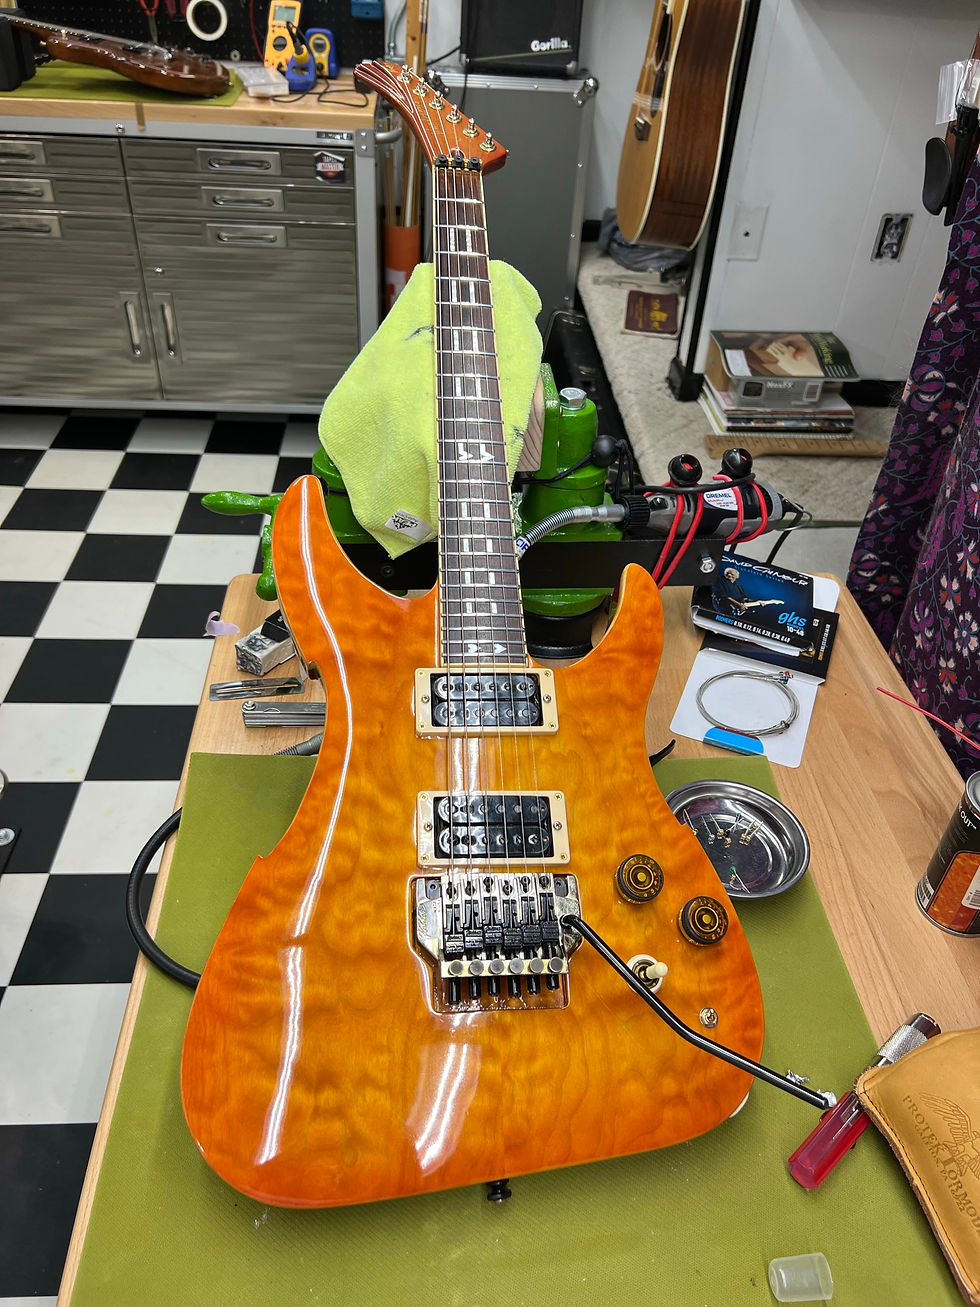
Here is the final result. Finished work and complete setup with fresh frets.
Comments