
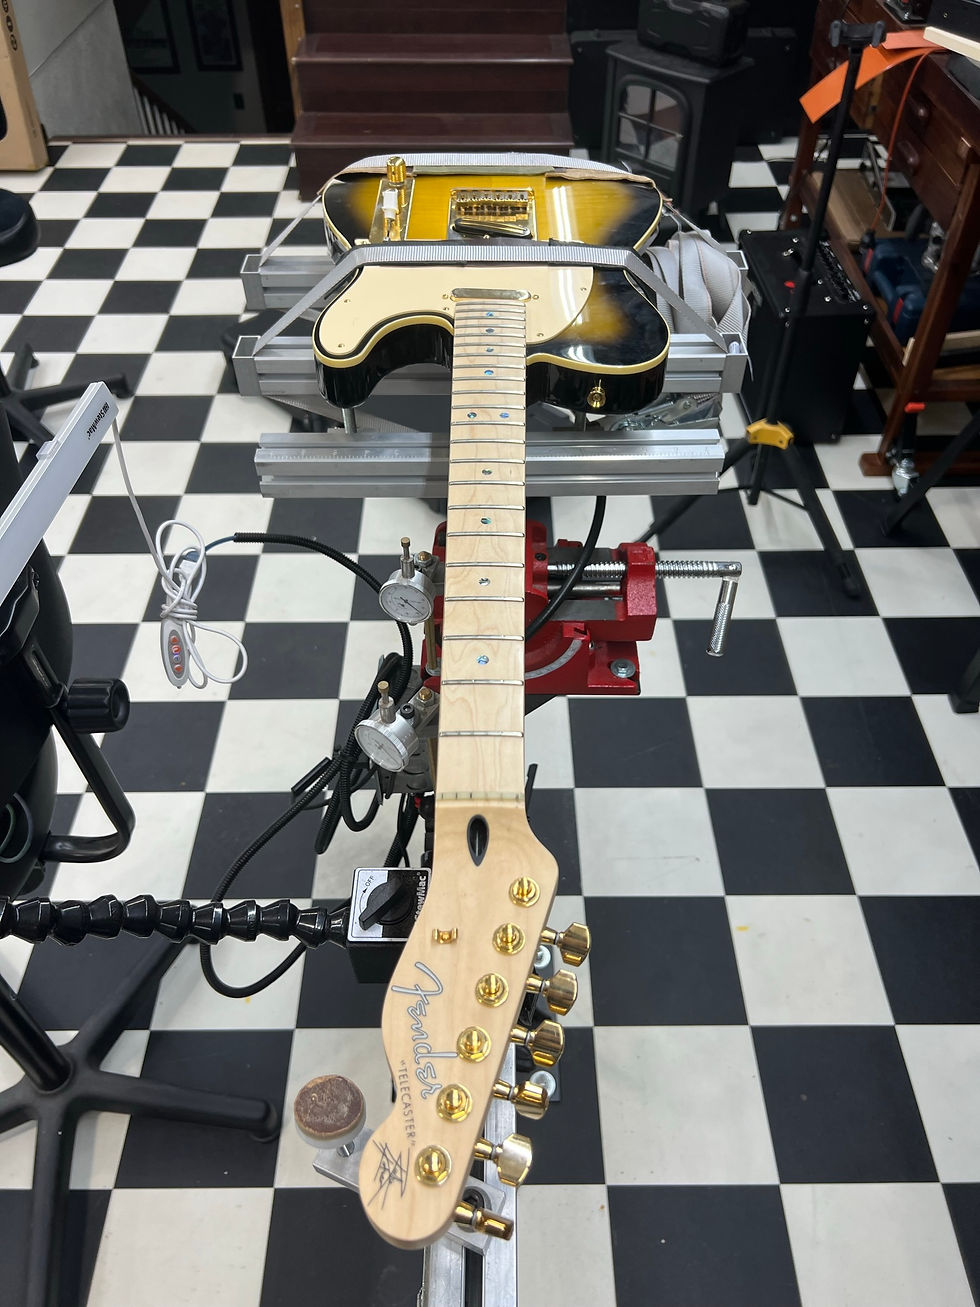
I recently took in both a Richie Kotzen Telecaster (and a Richie Kotzen Stratocaster) from a customer. Both guitars had major fret wear. My client wasn't happy with the sounds he was getting with the stock Dimarzio pickups, and wanted to install a set of Lindy Fralin Blues Specials. For more info on the Kotzen Signature Telecaster, this is a good source:


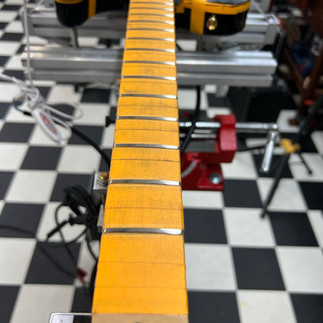
Here, I get a closer view of the wear on all of the frets, and while there is quite a bit of wear, the good news is that these frets are Dunlop 6100 Jumbos. We will be able to remove the wear and still have plenty of fret left. Even better news is that my customer prefers a vintage fret height, which makes my job here much easier.


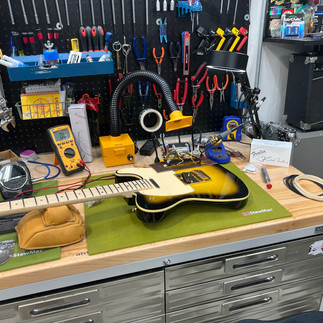
Next, I move onto cleaning the fretboard, removing years worth of grime and crud from both frets and fingerboard. I use this time to look for loose or protruding frets, and I get a better idea of the depth of the divots. I use tools to check the straightness of the neck and inspect for any humps or twisting. I double check that the truss rod is allowing full adjustment of the neck. I then rotate the guitar into playing position and carefully adjust the neck to the flattest setting achievable, again using my tools to check for optimal neck straightness. I finish by rotating the guitar into working position and adjusting the Erlewine jig to account for string tension at the nut and headstock, and pull the neck back into the same position as if it were being played, to achieve the optimal leveling job. I will now begin the tasks of removing the fingerboard nut, taping the fretboard off, and protecting the body with some pieces of leather as to protect the guitar from my tools.


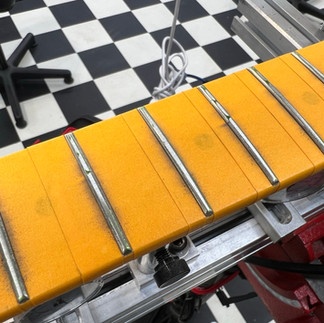

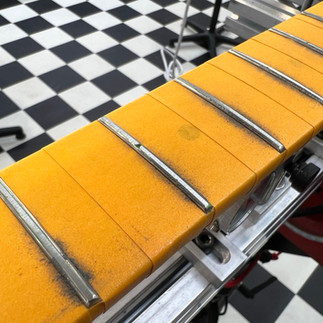


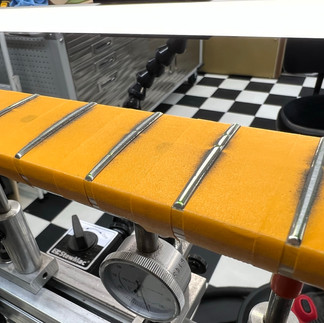


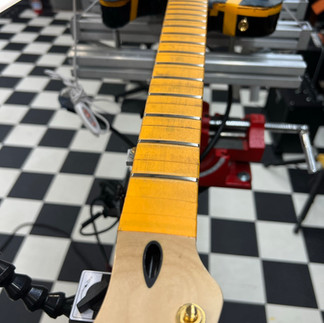
The above photos were taken during the fret leveling process and show the amount of wear that was removed from the fret tops. At the final point, I am confident that I can polish the rest of the remaining divots and wear on the sides of the fret after crowning.


After vacuuming the filings up, I mark the flat tops of the freshly leveled frets with a marker to prepare for the fret crowning portion. After many strokes of the crowning file, I get the shoulders tapered into a nice narrow crown for the ultimate intonation up and down the entire fingerboard.


Next, I move on to polishing out the scratches from both leveling and crowning by undergoing a 15 course polishing regimen. This polishing involves literally thousands of strokes of the polishing media. This removes said scratches, and increases the smoothness of the fret surface with every stroke, resulting in a quality, mirror shine on the fret, which makes for easy playing, sliding, and bending.


The next step involves using felt and cotton buffing wheels to apply and remove jewelers' rouge and other compounds in order to bring us to our final 'dressing' or shine. This step takes time and patience as well. But, the benefits are clear after the tape is removed and the instrument is restrung and smooth playing.


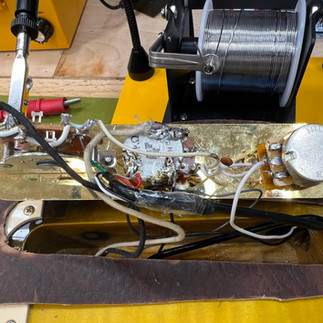


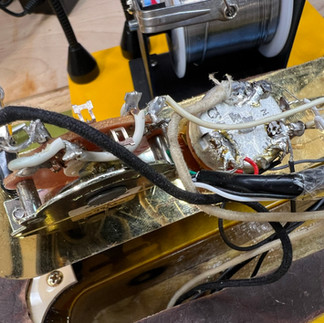


Next I move the guitar over to my soldering station. I take the control plate loose to have a look at the work inside, and while it works, it looks terribly amateur, with lots and lots of gray, 'cold' solder joints. While everything works, that does not guarantee that it will continue to. Being a proud Lindy Fralin Pickups dealer, I ordered a set for the customer and received them just in time to begin the wiring stage of this job. The customer also requested that a half out of phase/in phase push-pull blend pot be added, and that the control plate be wired in reverse to give easy access to the volume knob for swells, and the tone knob for various effects. Fralin carries these special CTS potentiometers as well, and the appropriate parts were all ordered from the nice and knowledgeable folks at Lindy Fralin Pickups.


I next work on removing the bridge which requires removing the saddles first. I then remove the pickguard, neck pickup, and bridge pickup which gives us a view of the raw body. This allows access to install copper shielding for my customer for a more noise free performance of these premium vintage style pickups. After I have installed and connected all the shielding into the cavities and routs, I use my multimeter to check for continuity in all places with copper shielding (below is a video detailing this process).
In order to work effectively, the shielding all needs to be connected to ground. Any shielding that is not connected to ground will potentially allow RF interference into the wiring, so this test is crucial to check for any 'dead areas' of our improvised Faraday cage. As you can see, all points in our guitar are joined, and therefore protected from RF. I will now move on to installing the pickups, wiring the control plate, and connecting our shielding to ground (earth).


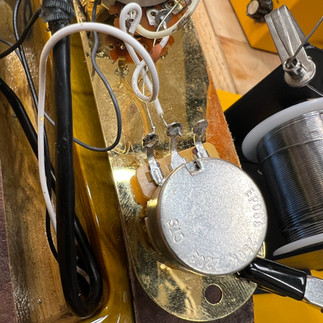
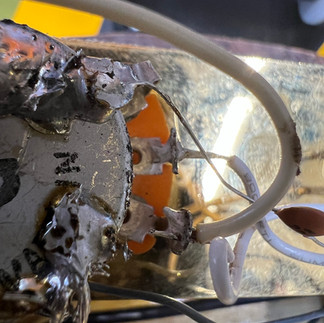
The only component of the wiring that will not be replaced is the 3 way switch. I clean the solder and wire strands from it and tin the terminals. The rest of the wire and two pots are removed. New pots and new cloth covered vintage wiring wired to a brand new output jack are going in its place. I solder with a lead core soldering iron at around 725 degrees Fahrenheit, and ensure that the solder joints are nice and shiny. I then stress test my connections and ohm the wiring out with my meter.

With the wiring completed, I replace the original nut with a Tusq nut as specified by the customer, and string the guitar with his choice of string gauge and brand. I adjust the nut slots to their proper depths, and adjust the truss rod and bridge saddle to bring the guitar's string height to the customer's specification. I am very pleased with how the guitar both plays and sounds with its new pickups and control configuration. The case is then vacuumed out, and the guitar receives its final wipedown and polish. If you have a guitar you'd like to have looked at in our shop, please reach out to us on our website, facebook or Instagram. I will be glad to discuss with you any issues, problems, or thoughts about improving your guitar. I hope you enjoyed reading this and looking at the pictures of my work as much as I enjoyed working on this fine instrument. Until next time, stay tuned!
Comments